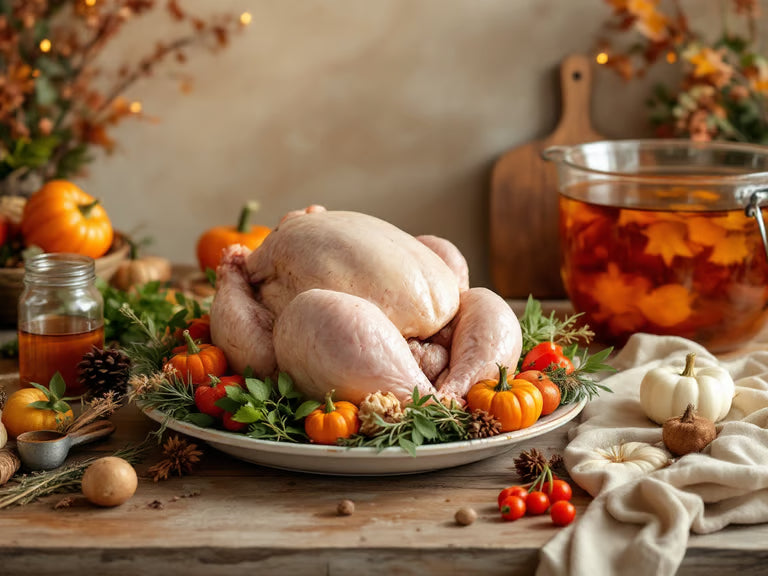
Picture this, you’re gearing up for Thanksgiving in California and dreaming of a turkey that’s juicy from wingtip to thigh. Whether you’re raising your own live turkey for Thanksgiving or picking one up at a local live turkey farm in California, brining transforms your bird into a showstopper. In this guide you’ll explore live turkey brining methods for Thanksgiving so your guests rave about every bite.
Understand Brining Benefits
Brining is simply soaking your turkey in a salt solution, and it does two magic tricks:
- Moisture retention Salt breaks down muscle proteins so fibers don’t squeeze out liquid during roasting.
- Even seasoning The bird absorbs salt evenly, so every slice tastes seasoned through.
Dry brining adds another bonus, crispier skin, by helping surface proteins form tiny bubbles that render fat better (Serious Eats).
Select Brine Type
Choosing wet or dry depends on your prep style and space. Here’s a quick comparison:
| Method | Pros | Cons | Time |
|---|---|---|---|
| Wet Brine | Extra juiciness, mild flavor | Needs big container, fridge | 12–24 hours |
| Dry Brine | Crispy skin, easy cleanup | Surface seasoning only | 12–72 hours |
Prepare Wet Brine
Let’s walk through a classic wet brine you can scale to your turkey’s size.
- Gather Ingredients
- 1¼ cups kosher salt per gallon of water (Simply Recipes)
- Optional: ½ cup brown sugar, ¼ cup Worcestershire sauce, herbs, garlic
- Heat And Cool
- Warm part of the water to dissolve salt and sugar, then cool brine completely in fridge or over ice.
- Submerge Turkey
- Use a food-grade bucket or brining bag, never a trash can. Make sure bird is fully covered.
Apply Dry Brine
Dry brining is a no-fuss method that still packs a punch of flavor.
- Mix 1 tablespoon kosher salt (or 1½ teaspoons table salt) per 4 pounds turkey, plus 1 teaspoon baking powder for extra crisp skin.
- Sprinkle evenly on all surfaces, including neck cavity and under wings.
- Place on rack set in a rimmed pan, refrigerate uncovered for 12–72 hours.
Brine Turkey Safely
Keeping things hygienic is key when you’re handling a live turkey and raw meat.
Use Proper Containers
- Stainless steel, food-grade plastic, or heavy-duty brining bags work best.
- Avoid household trash cans or reactive metal buckets.
Maintain Cool Temps
- Keep brining solution below 40°F.
- If your fridge is tight on space, set cooler with ice packs outside, check temp with a probe.
Rinse And Dry
Once brine time is up, you’ll want to rinse off excess salt and dry skin for crispness.
- Rinse gently under cool water, inside and out.
- Pat turkey completely dry with paper towels.
- Let it sit on a rack for 1–2 hours in fridge to air-dry skin further.
Cook Brined Turkey
Now the fun part, getting your bird from fridge to table.
Roasting Tips
- Preheat oven to 325°F.
- Tuck wings, truss legs loosely so heat circulates.
- Roast until breast hits 160°F and thigh reads 165°F, about 13–15 minutes per pound.
Alternative Methods
- Spatchcock your turkey (remove backbone, flatten) for faster, more even cooking.
- Use a smoker or grill for a wood-smoke flavor.
For extra cooking pointers check out our live turkey cooking instructions for thanksgiving.
Key Takeaways
- Brining (wet or dry) locks in moisture and seasons deeply.
- Wet brine needs space and 12–24 hours, dry brine can go up to 72 hours.
- Always brine in a food-safe container and keep temps below 40°F.
- Rinse, dry well, then cook to proper internal temperatures.
Ready to wow your guests with a brined turkey that’s juicy, flavorful, and golden-brown? Give one of these methods a try. Have a brining tip or favorite spice combo? Share it below so everyone can up their Thanksgiving game. And if you’re planning to raise poults next season, check out avbirds.com's guide to turkey poults and hatching eggs for all the essentials.