Introduction
Launching a hatchery can be a high-margin, locally rooted business—especially when you specialize (e.g., heritage turkeys, quail, or exhibition poultry) and build trust around healthy chicks and transparent practices. This guide walks you through the essentials: legal structure, NPIP, infrastructure, equipment, breeder selection, biosecurity, logistics, and a marketing funnel that fits avbirds.com.
1) Choose a Focus and Validate Demand
Start by defining a niche you can own locally:
-
Species: Chickens, turkeys, quail, ducks, guinea fowl, pheasants.
-
Value props: Heritage breeds, show quality, pasture-raised, disease-tested, shipped day-old chicks, or local pickup.
-
Demand check: Scan competitor listings and farm groups, ask feed stores about common requests, and measure search volume for “hatching eggs [city]” and “day-old chicks [city].”
Internal links:
-
See also: Choosing the Best Breeds for Your Hatchery; Raising Quail for Profit in a Hatchery Setting.
2) Pick a Legal Structure and Handle Permits
Form an LLC or corporation for liability separation. Check county zoning for animal limits, setbacks, and retail/on-farm pickup rules. If shipping birds/eggs across state lines, understand federal and destination-state regulations.
External references:
-
USDA Poultry (overview & regulations): https://www.usda.gov/
-
State/County Ag Dept portals (search “your-state + poultry regulations”).
3) Understand NPIP and Why It Matters
The National Poultry Improvement Plan (NPIP) is a voluntary certification program focused on controlling specific poultry diseases (e.g., Pullorum-Typhoid). It’s a recognized trust signal for buyers and sometimes necessary for interstate commerce.
External references:
- The official site for NPIP can be found at: https://www.poultryimprovement.org/
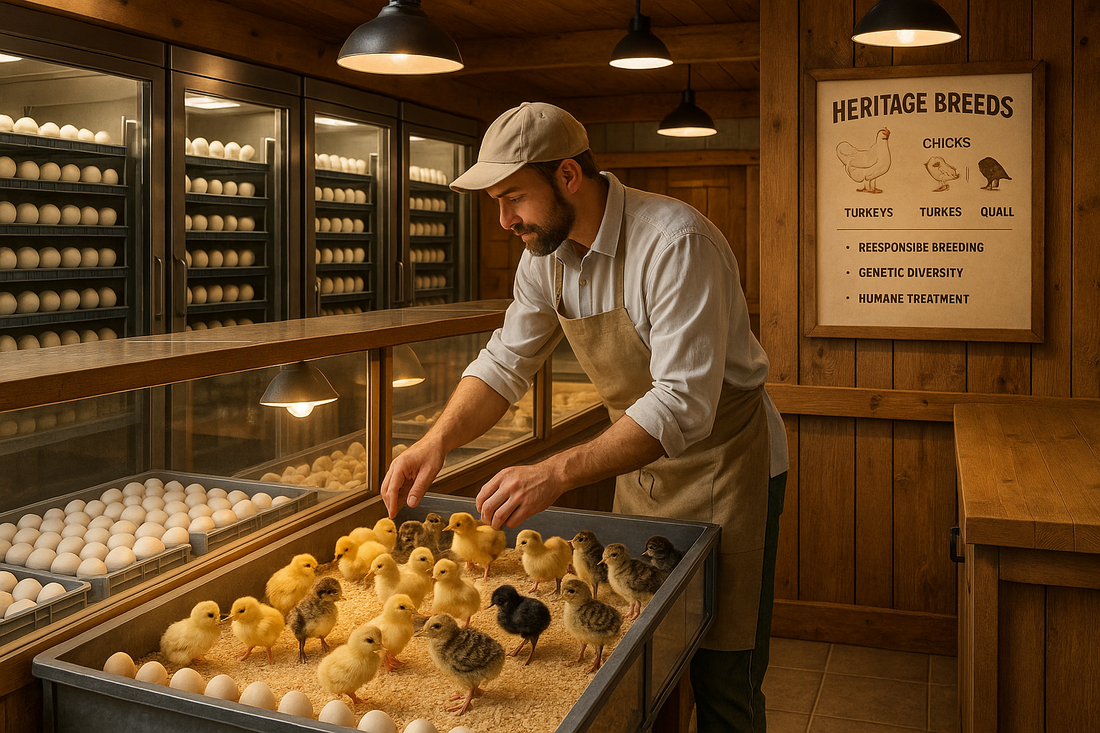
4) Facility Layout and Environmental Controls
Separate clean/dirty zones. Use washable surfaces, footbaths, pest control, hand-wash stations, and separate rooms for:
-
Egg handling & storage (55–65°F, ~70–75% RH)
-
Incubation (accurate temperature/humidity; no drafts)
-
Hatching (dedicated hatchers to limit contamination)
-
Brooding & grow-out (good airflow; easy sanitation)
Internal links:
-
Biosecurity Measures Every Hatchery Should Implement; Optimal Temperature & Humidity for Different Bird Eggs.
5) Equipment List (Starter)
-
Incubators & hatchers (reliable thermostats; easy to sanitize)
-
Brooders with heat plates or lamps, thermometers, draft guards
-
Sanitation & PPE (disinfectants safe for poultry, gloves, boot covers)
-
Record-keeping tools (digital hatch logs, breeding records)
-
Packing & shipping (egg cartons, chick boxes, heat packs when needed)
Internal links:
-
Essential Equipment Every Hatchery Needs; How to Improve Hatch Rates with Data Tracking.
6) Breeder Flock Selection & Management
Healthy breeder stock = healthy chicks. Source from reputable, disease-tested flocks. Maintain proper male-to-female ratios, rotate breeders to reduce inbreeding, and cull for vigor and conformation. Feed a balanced breeder ration, ensure clean water, provide shade and enrichment to reduce stress (better fertility).
External references:
-
Poultry Science Association (research hub): https://poultryscience.org/
-
eXtension (university Extension network): https://extension.org/
7) Egg Handling, Storage, and Setting
Collect eggs multiple times daily, store pointed end down, avoid washing unless absolutely necessary (then use water warmer than the egg). Set eggs within 7 days for best hatch rates. Track fertility by pen to identify weak breeders.
Internal links:
-
Egg Candling: How to Check Fertility; Common Mistakes in Egg Incubation (and How to Avoid Them).
8) Incubation Profiles and Monitoring
Different species have different set points (e.g., chickens 99.5°F forced-air, ~45–55% RH until lockdown). Calibrate thermometers, verify with a second device, and log daily temps/humidity. Candle at days 7–10 and 14–18 (species dependent) to remove clears.
Internal links:
-
Optimal Temperature & Humidity for Different Bird Eggs; How to Incubate Chicken Eggs Successfully.
9) Hatching, Brooding, and First 48 Hours
At lockdown, stop turning and increase humidity. After hatch, allow chicks to dry and rest before moving to a pre-warmed brooder (95°F for week 1; reduce 5°F per week). Provide chick starter, probiotics/electrolytes as desired, and show them water by gently dipping beaks (do not force).
External references:
-
Merck Veterinary Manual (poultry section): https://www.merckvetmanual.com/
10) Biosecurity and Health Protocols
Quarantine new breeders, limit visitors, disinfect equipment between batches, and implement rodent/wild-bird exclusion. Work “clean to dirty” and keep dedicated tools per room. Create SOPs and post them.
Internal links:
-
Common Hatchery Diseases & How to Prevent Them; Vaccination Guide for Poultry Chicks.
11) Pricing, Policies, and Customer Service
Set transparent pricing tiers for hatching eggs, day-olds, started birds. Offer live-arrival policies that are fair yet protect your margins (weather windows, hold-for-pickup). Publish care guides and FAQs to reduce support volume and build trust.
Internal links:
-
How to Ship Hatching Eggs Successfully; Using Social Media to Sell Hatching Eggs & Chicks.
12) Marketing Funnel for avbirds.com
-
SEO content (like this series) targeting species + city terms.
-
Email capture (“Notify me when poults are in stock”).
-
Product pages with photos, NPIP badge, care PDFs, and reviews.
-
Local: partner with feed stores & homesteading clubs.
External references:
Conclusion
Start small, standardize your SOPs, and document everything. Healthy breeders + strict biosecurity + clear customer policies = reputation and repeat sales for AV Birds.
Suggested royalty-free image: search Pexels for “poultry hatchery” or “incubator eggs” (allow commercial use).
Alt text: “Newly hatched chicks drying in a brooder at a small hatchery.”